Calendar Game
In a calendar, participants open a new door each day or each week. Behind each door, there is a quiz question, and if the participant answers correctly, they win a prize or get in a drawing for a prize.
As a game designer, you can decide how many doors there are and when they can be opened. Most commonly, there are 24 or 25 doors in an Advent calendar, but you can use the calendar in many creative ways.
💡 To make this game type available faster, it has been activated without additional service updates, so the type will be shown with the technical name of "game-types.calendar". The game will be made available in its own section in Q4 2025.
You can find the template by searching for “calendar” in the Gameplay section. Simply duplicate the template and start your own game.

Get started video
Watch this quick start video demo where the concept and basic configurations are explained.
Introducing the Calendar Game Type 🎄
Game settings
General game settings
This section gives an overview of the calendar settings under Game Settings > General.
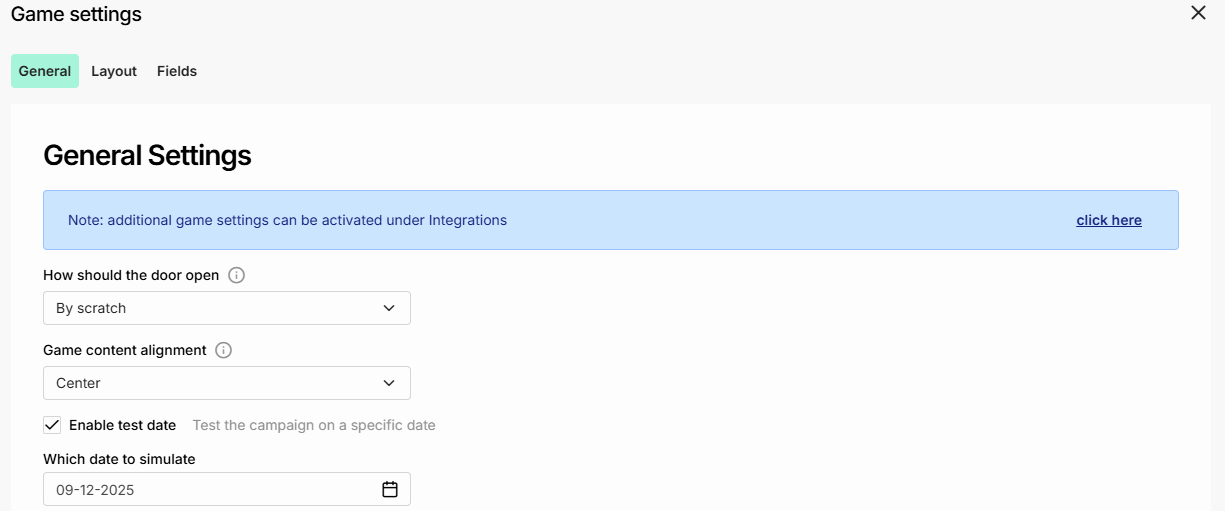
How should the door open
-
If opening by scratch, you will define the size of the scratch area. You will also want to upload a scratcher icon under Layout (for desktop only)
-
If opening by click, you will decide what the field animation should be (see below).
Game content alignment
This controls whether the quiz question and answers are aligned in the left/right/center of the game addon.
Enable test date
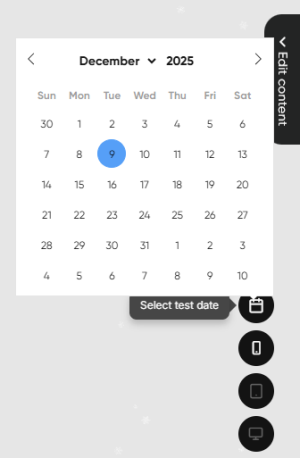
This lets you simulate a date in the future using the game designer. This is how you can see what the calendar will look like when it is live.
Show active prizes on the question
⚠️This feature is not available for the way that Lobyco works with this integrated component, and these settings will be ignored.
Field animation
- Fade gradually reveals the image behind the door
- Open creates a swinging door animation (works best for perfectly square doors)
- Instant goes straight to the question without showing the image behind the door (note the image will still be visible on standard desktop calendars on subsequent days).
Field settings
The calendar works by creating date-controlled fields, which are active only on the day or during the date range you define.
Under Game Settings > Fields, you will find a list of all of your calendar's dates. These fields are linked to the right day on your calendar graphic under Game Settings > Layout.
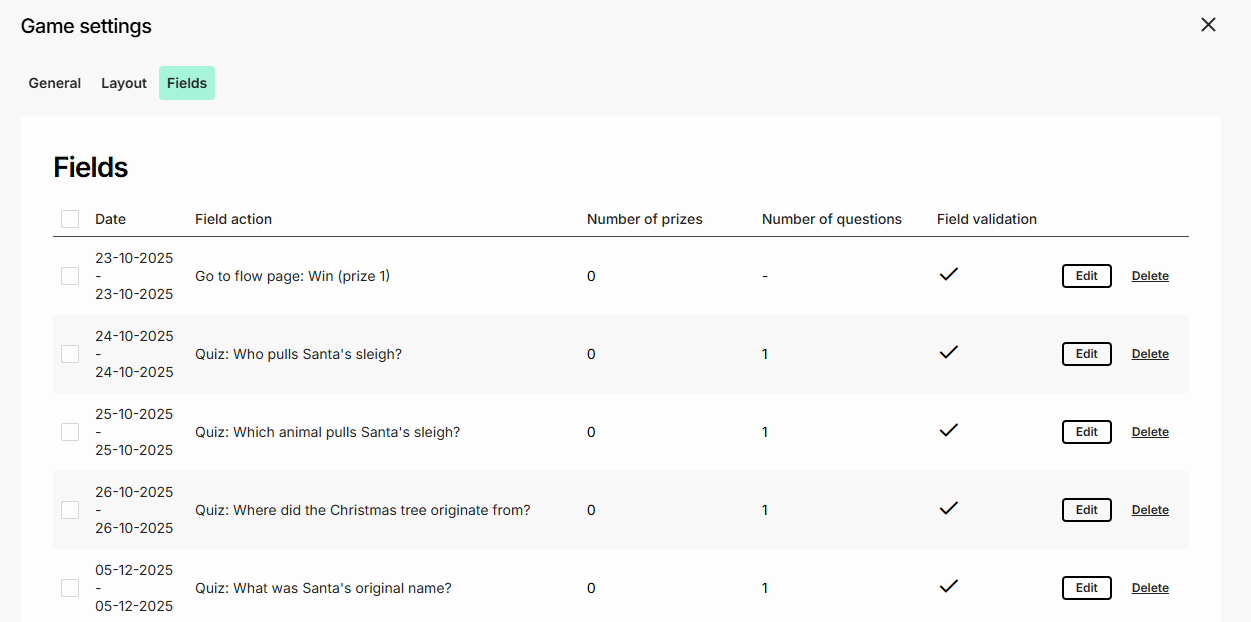
💡 In the provided Lobyco template, there are 24 fields, one for each day in December. Buy you can edit your own fields and create weekly calendars, for example.
Editing a field allows you to edit everything that is specific to that date in your calendar, including:
- When the field is active
- What image is behind the door
- The action (quiz, URL, flowpage or campaign)
- The question, answer, and feedback (if using a quiz)
- The label on the door, if using auto-generated doors
- The daily door graphic, for single-door calendars and mobile door graphics
- Which prizes are connected to the date
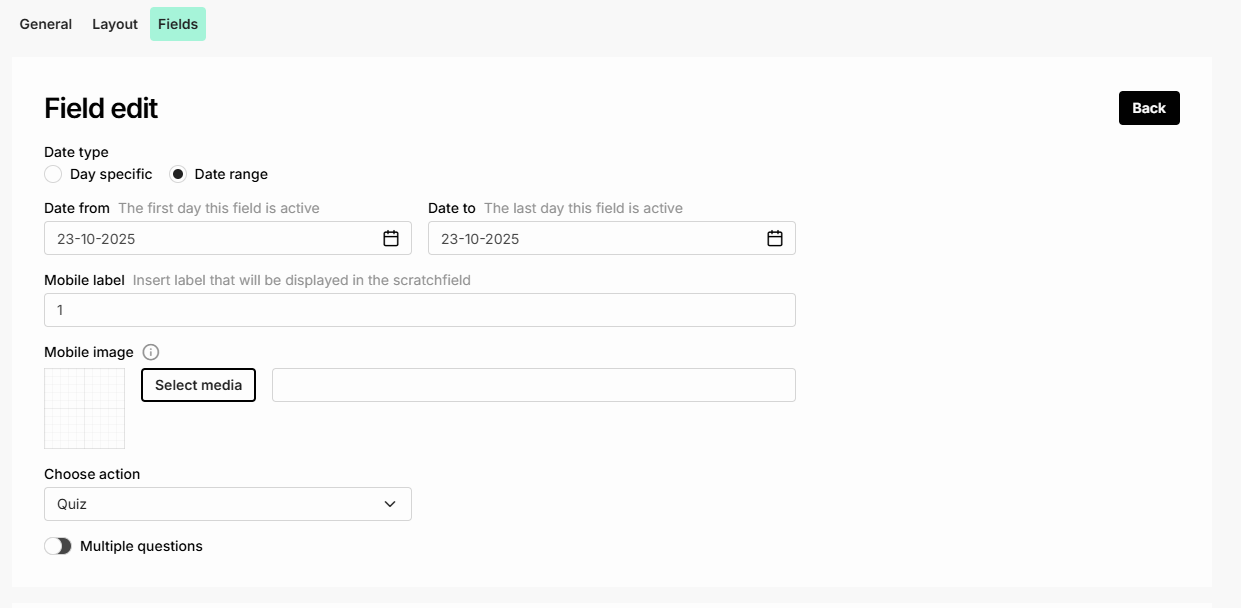
Field action: Quiz
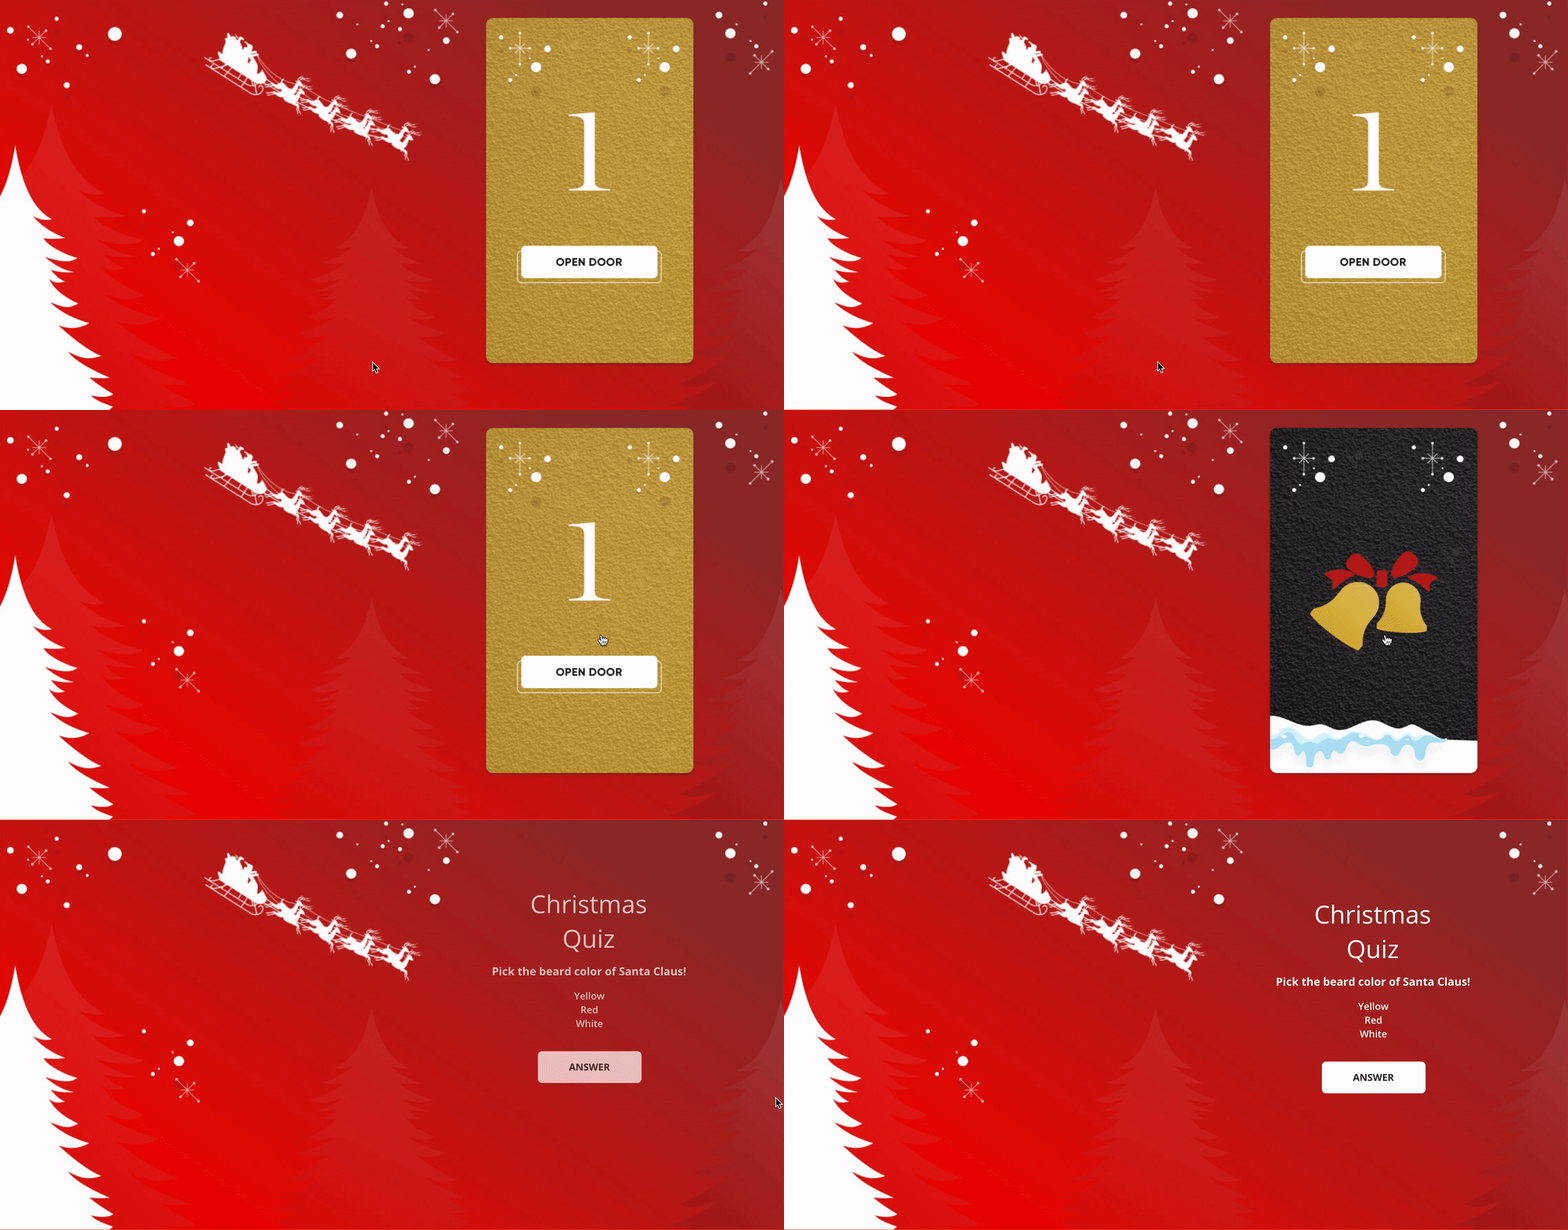
The default settings of a calendar include a quiz question (or multiple questions). When the participant opens the door, they will see that day's quiz. You will have the following options for editing the integrated quiz:
- Include up to three answer options, either text or images
- Define the correct answer
- Include a link to where the participant can find the answer
- Add a video to the question
- If using multiple questions, decide how many a participant must answer correctly to win the game
Field action: Flowpage
Instead of directing to a quiz question, you can set your field to go to a specific flow page.
💡To keep the flow consistent, just select the Flow page as Go to next flow page so the user will go to either the allocated prize (if there are multiple possible prizes) or to the lose page if there are no prizes, or prizes have been depleted.

Field action: URL
With the go to URL option, you can direct players to external endpoints, like your website. It should not be used when you want to allocate prizes in the App.
Field action: Campaign
With the go to campaign option, you can direct players to another game, but this is not actually supported to allow winnings to be shown in the game.
One door per day calendar
On mobile devices, only one calendar door is shown at a time if you use specific days.
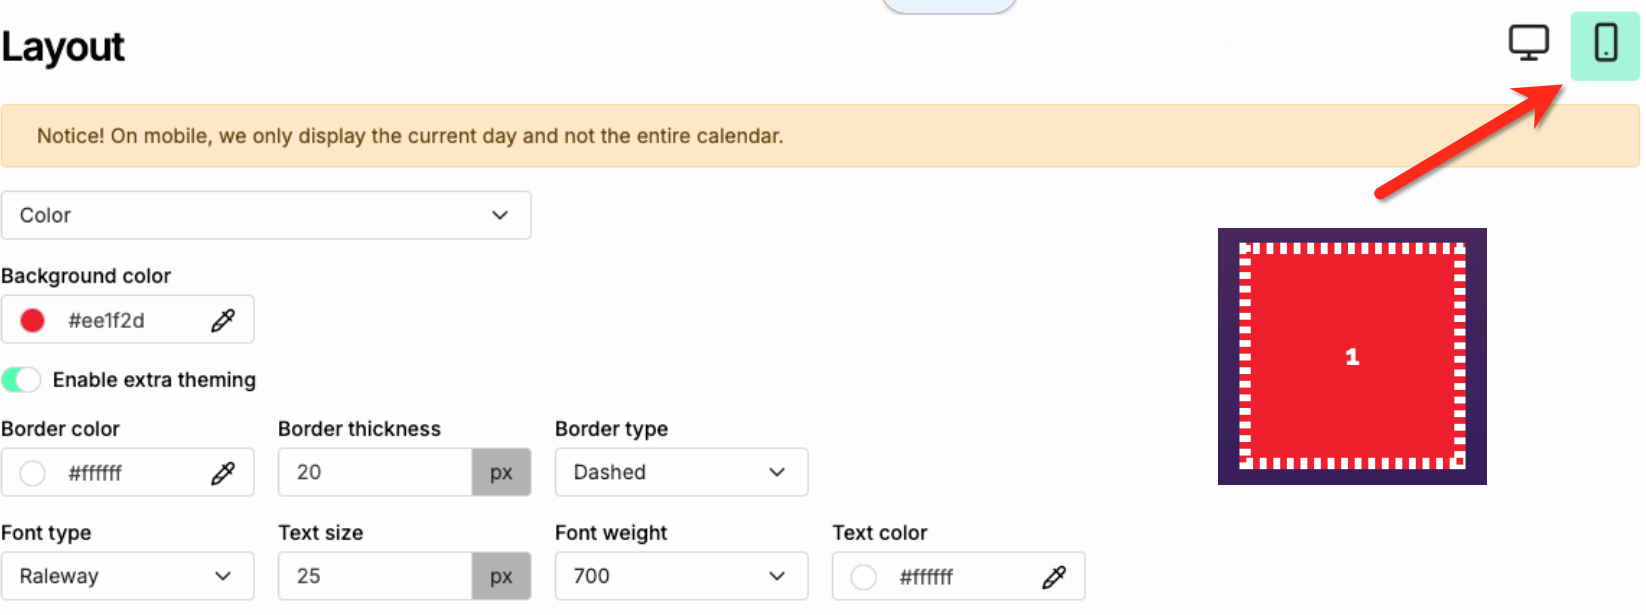
Auto-generated doors
If you don't have a specific mobile design, you can use the platform's auto-generated doors on mobile, even if you are using a graphic on desktop.
This will generate a square door, 200x200px in size. If you enable extra theming, you can define the color, font, and border just like with auto-generated doors on desktop. In the image below you can see an example of an auto-generated door.
Door graphic
To use a graphic on mobile, you will upload the image of the door and only the door.
The entire mobile door is the active area, so you will not set an active area on the mobile graphic the way you do on the desktop graphic.
This also means that any background you want for your mobile calendar door will be uploaded under the Layout or Style tabs.
When designing your mobile door graphic, remember:
- The "image behind the door" should match the shape of the mobile door graphic. If your mobile doors and desktop doors are different shapes, you will upload two versions of this image.
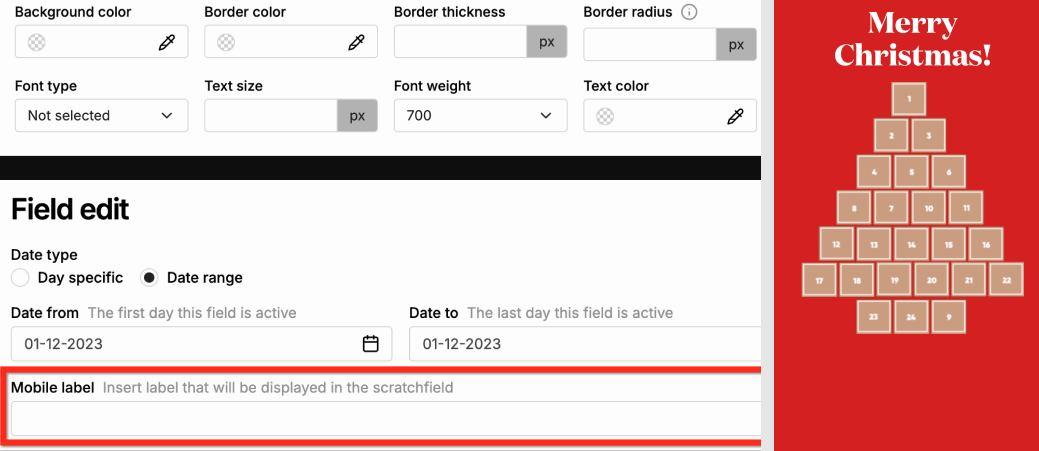
- If you are using 1 generic mobile door graphic, the platform can generate each day's number. The is the "mobile label" under Game Settings > Fields.
- If you are using a unique graphic for each day, you will upload each day's mobile door graphic under Game Settings > Fields. Remember to delete the mobile label if your graphic includes a label.
Highlight Active Door
You can visually highlight calendar doors that are active and accessible to help guide your users.
- Go to your Calendar layout settings.
- Enable the Highlight door(s) option.
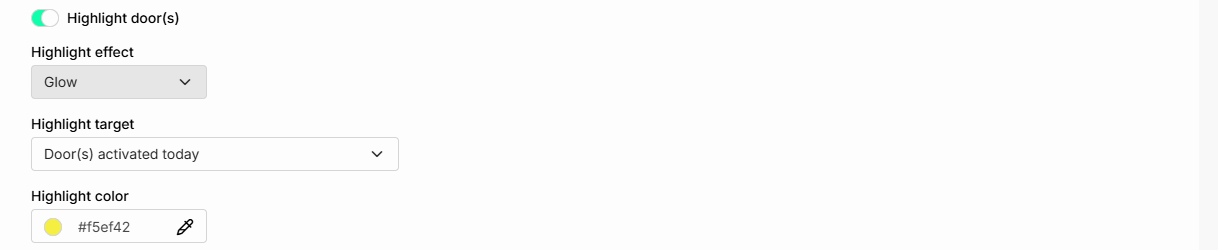
You can choose between two visual effects:
- Spinner – A rotating animation that draws attention to the door.
- Glow - A steady, illuminated effect around the door.
You can define which doors should be highlighted in Highlight target.
- All active doors – Highlights every door that is currently accessible based on the calendar logic.
- Door(s) activated today – Only highlights doors that became active today. This is especially useful when using date ranges, where doors might be accessible for multiple days.
Use highlights to improve engagement and make your calendar feel more dynamic and intuitive- especially when users return to check in daily.
Create a multi-door calendar
On mobile devices, the calendar will by default only display one door or field per day. It's possible to build a campaign with 24 doors on mobile by using the date range option in field settings for each Field. You cannot create a 24-door calendar using the 'specific day' date type.
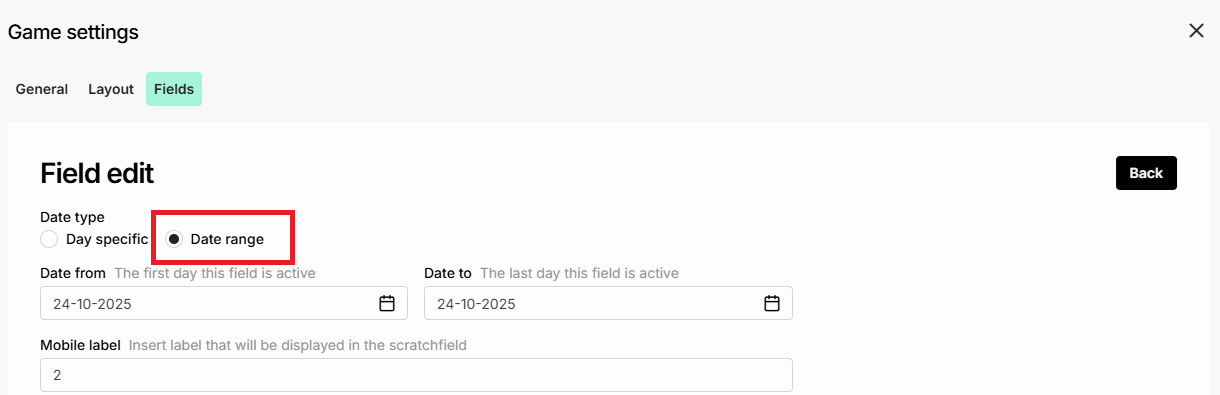
Remember to use a date range on all calendar fields!
If you only want the field to be active for one day, you can set the date range to 1/12/2025 to 1/12/2025.
If you want the field to be active for several days, for example when creating an advent calendar, you can also use a longer date period, e.g. 1/12/2025 to 6/12/2025.
Note that if a date is skipped by the user, that door will appear as already visited.
Mobile calendar image
Recommended size: 300 x 500 (to ensure that the entire calendar is displayed above fold on most devices).
For the calendar doors, you can either upload a calendar graphic where doors are included OR you can have the platform generate doors for you.
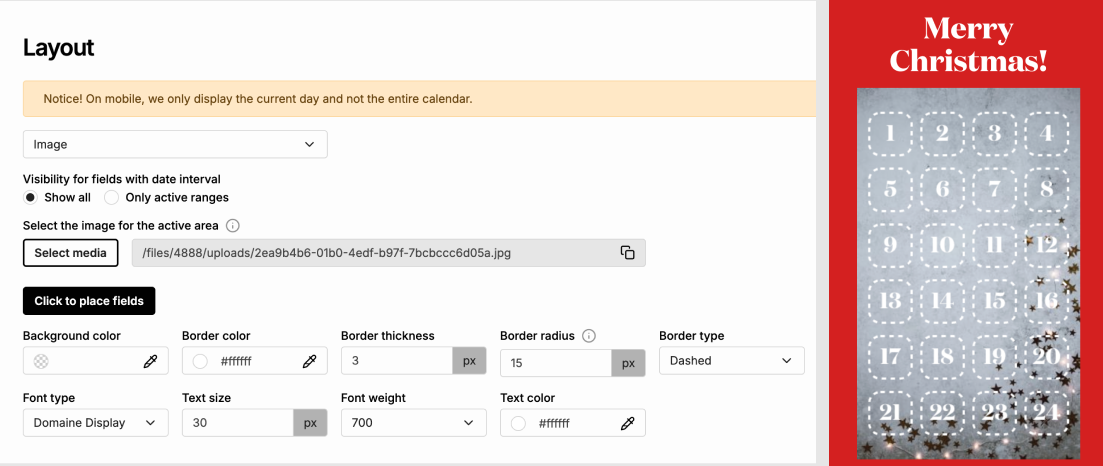
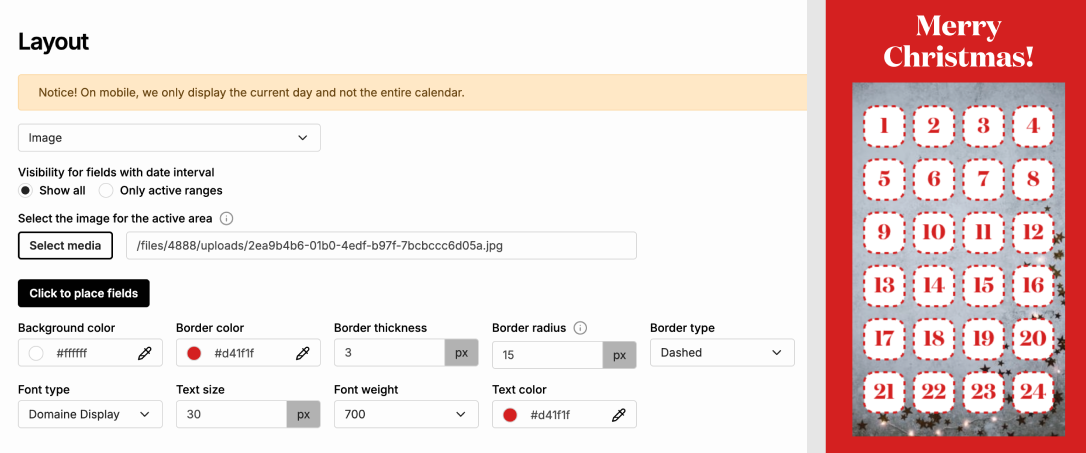
Auto-generated doors allow you to upload a simple calendar background image, and the platform will create doors over it. This is a helpful option if you don’t have the capacity to create a complex graphic that includes doors. Below you can find three different examples for how you can style the calendar doors.
Example 1: Autogenerated doors
Example 2: Autogenerated doors with solid door background color
Example 3: Calendar image where doors are included
Individual field images
When using the 'image' option on the calendar, it is possible to upload an individual image for each field in the calendar.
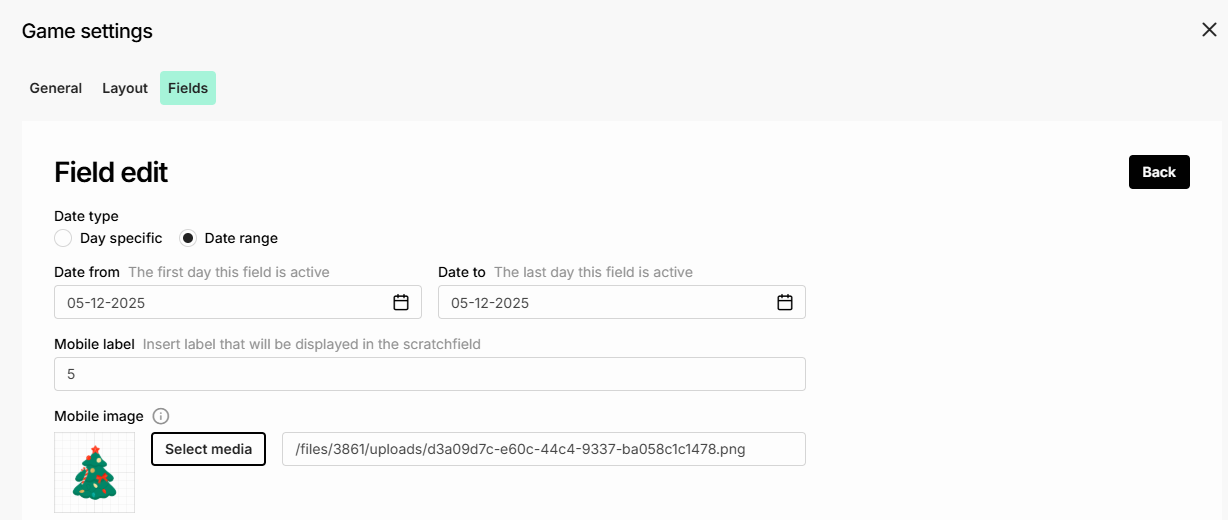
This image will display within the field of the specific day.
- Number: 1-24
- Recommended size: 200 x 200 px
Place the fields on the calendar image
Once you have set all fields to date range, you need to place the fields on the calendar images of your choice.
Navigate to Game settings > Layout. Click 'Place the fields'.
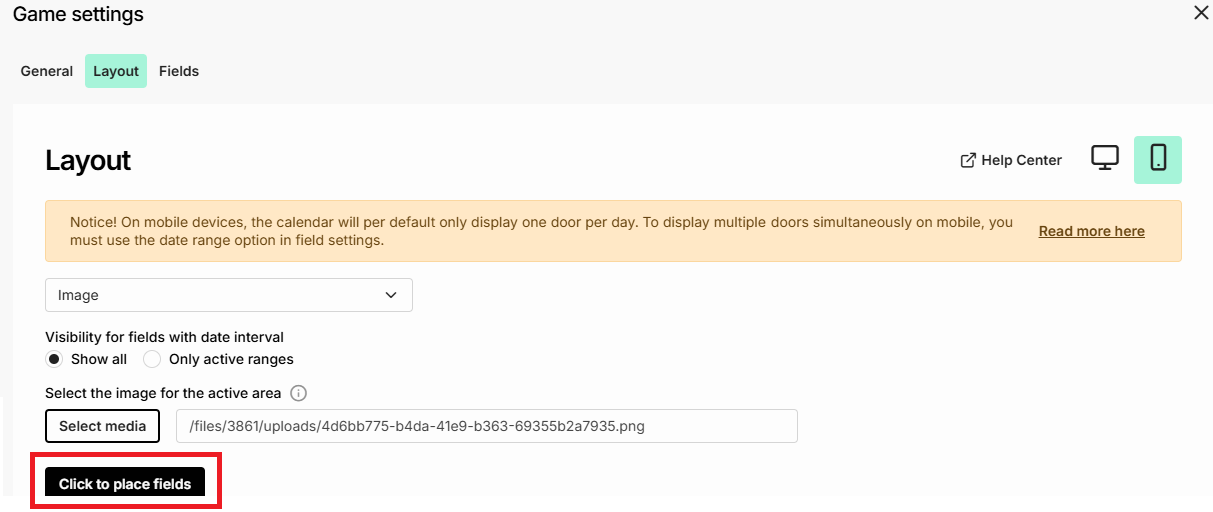
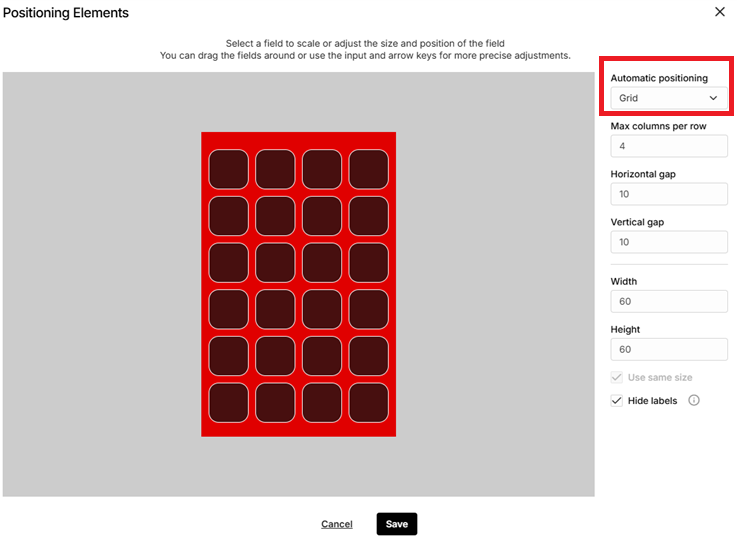
- Recommended number of columns per row: 4
- Recommended door size: 60 x 60
When placing the fields, it can be very useful to use the 'automatic positioning' feature. This allows you to place the fields within a streamlined grid. If needed, you can also hide the date labels to get a better overview of the fields placement.