Step 1: Configure activity details
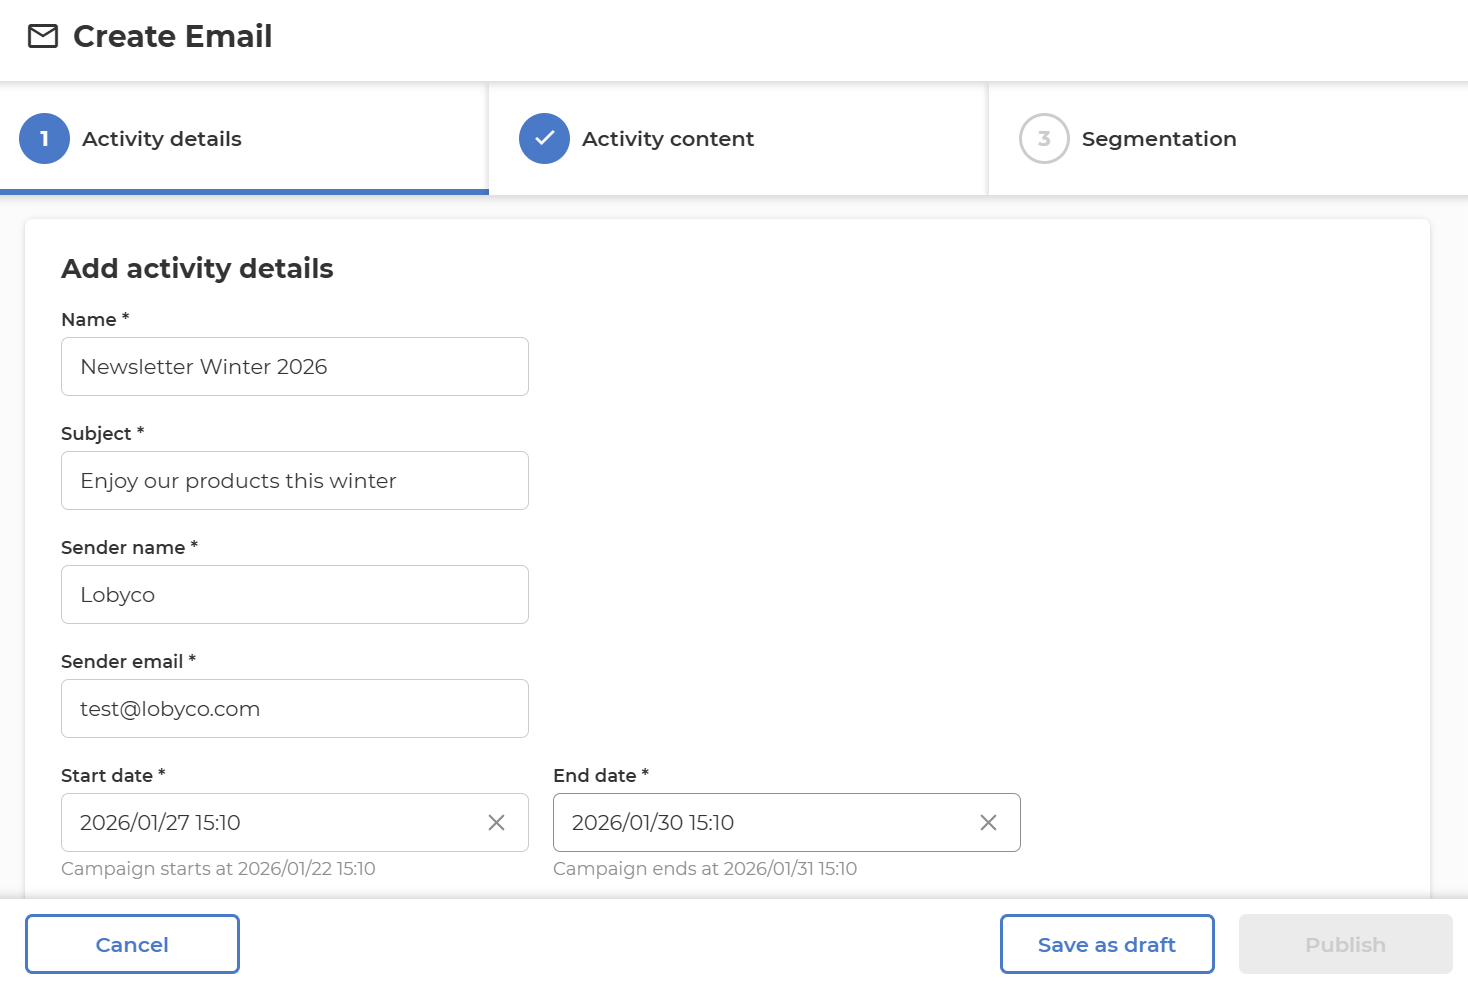
In Activity details, define the basic email settings:
-
Name
- Internal name of the email activity
- Maximum size: 64 characters
- Required for Saving as Draft and Publishing activity
-
Subject
- Subject line visible to recipients
- Maximum size: 1000 characters
- Required for Publishing activity
-
Sender name
- Displayed sender name
- Required for Publishing activity
-
Sender email
- Sender email address.
- Email address configured has to be a valid email address and has to have a previously configured domain.
- Required for Publishing activity
-
Start date / End date
- Interval of time when the email activity is active
- Interval has to fit under the campaign internal
- End date has to be after Start date
Step 2: Configure activity content
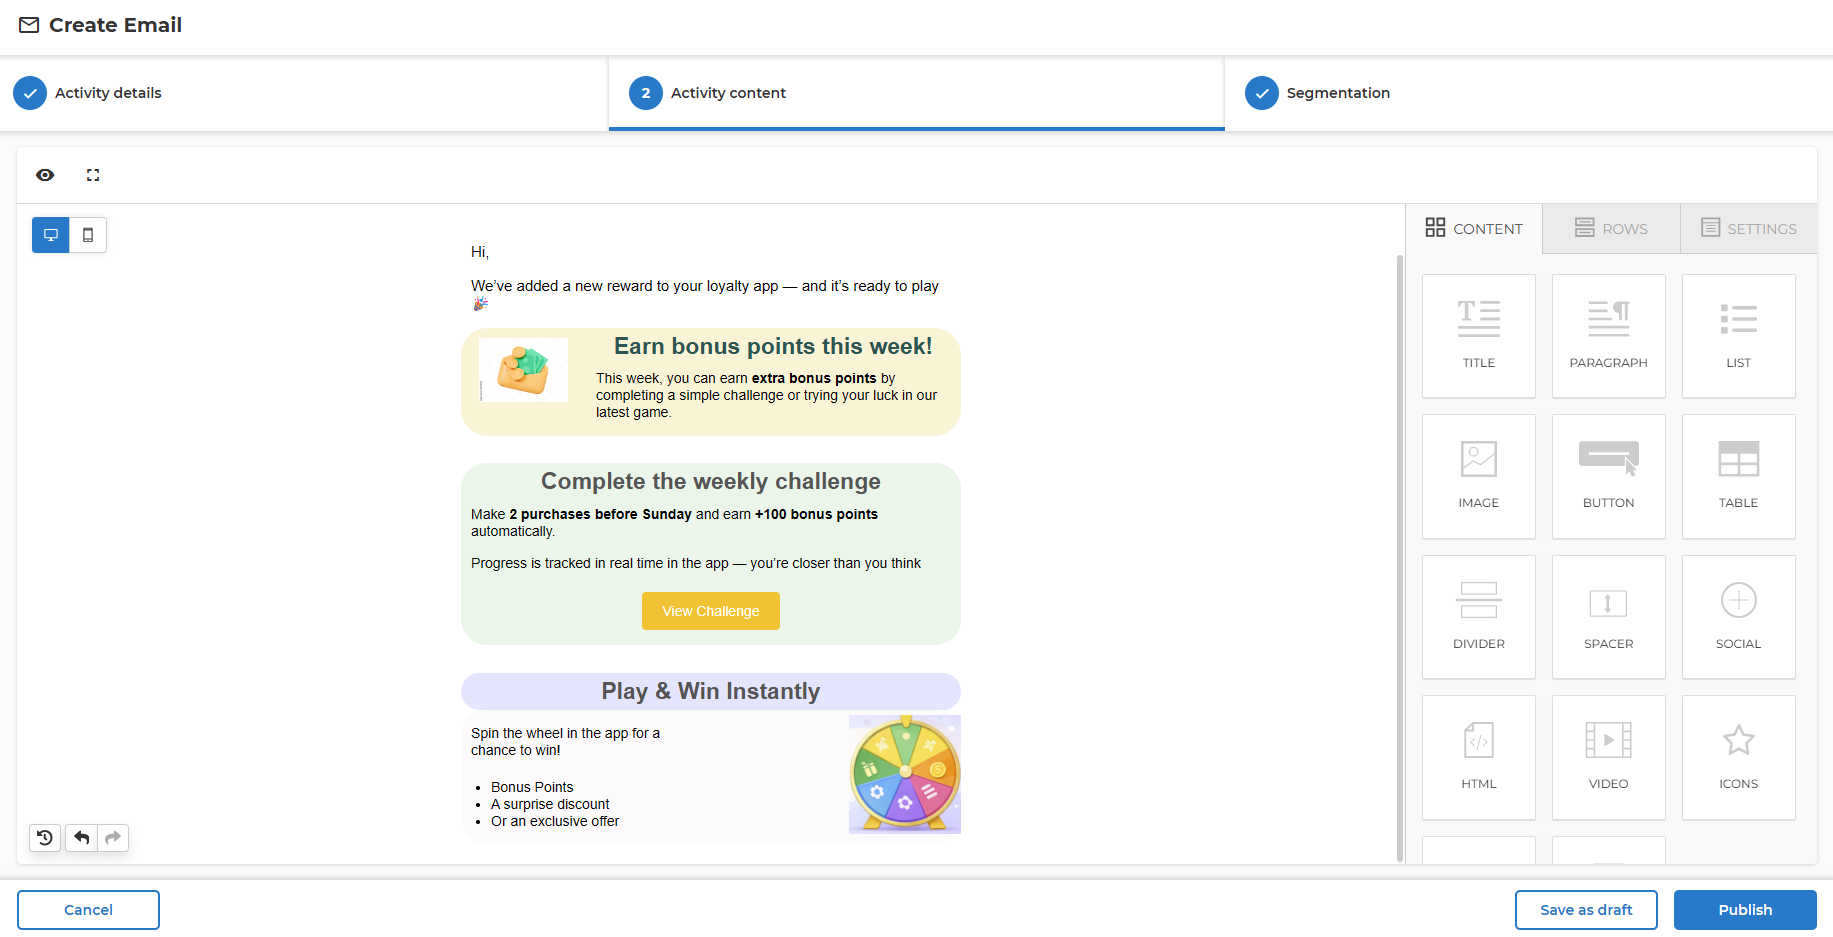
In Activity content, design the email:
-
Use the drag-and-drop editor
-
Drag into the content any of the available blocks from the Content section (Title, Paragraph,List, Image, Button, Table, Divider, Spacer, Social, HTML, Video, Icons, Menu, Text) or drag empty or predefined rows from Rows section
-
Insert merge tags for personalisation (e.g. First name). Merge tags are only available if the corresponding data is provided via segmentation or enrichment.
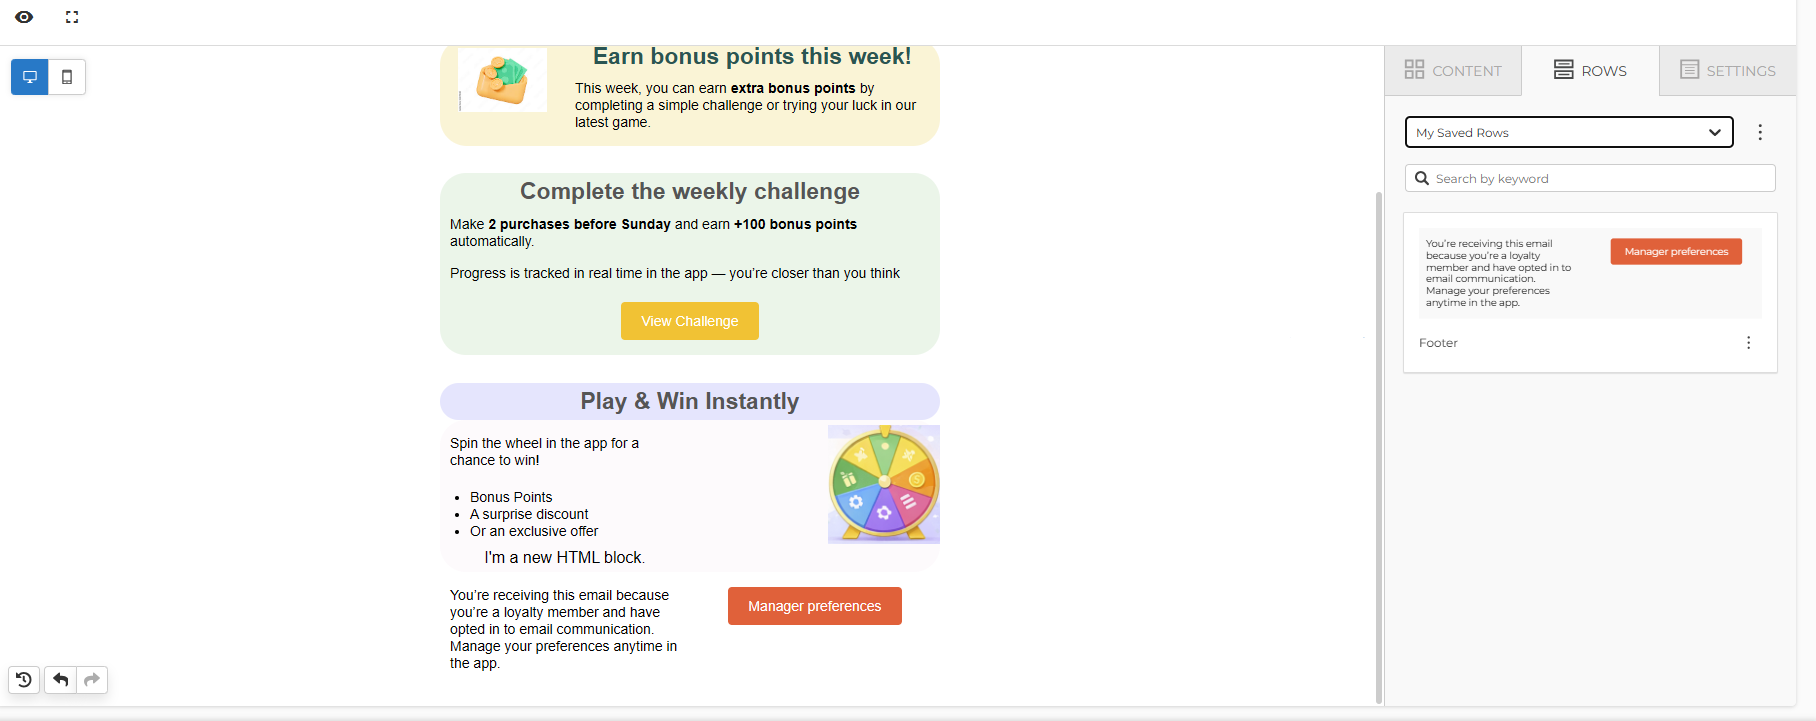
Using saved rows
-
Rows can be dragged from saved rows into the email canvas. Rows can be saved from the canvas into different categories which will ease future use.
-
This allows reuse of common structures (e.g. headers, footers, banners)
Step 3: Configure segmentation
💡 Note: Email activities should always be created with an audience or a segment filtered by email consent to prevent accidental communication with non-consented members.
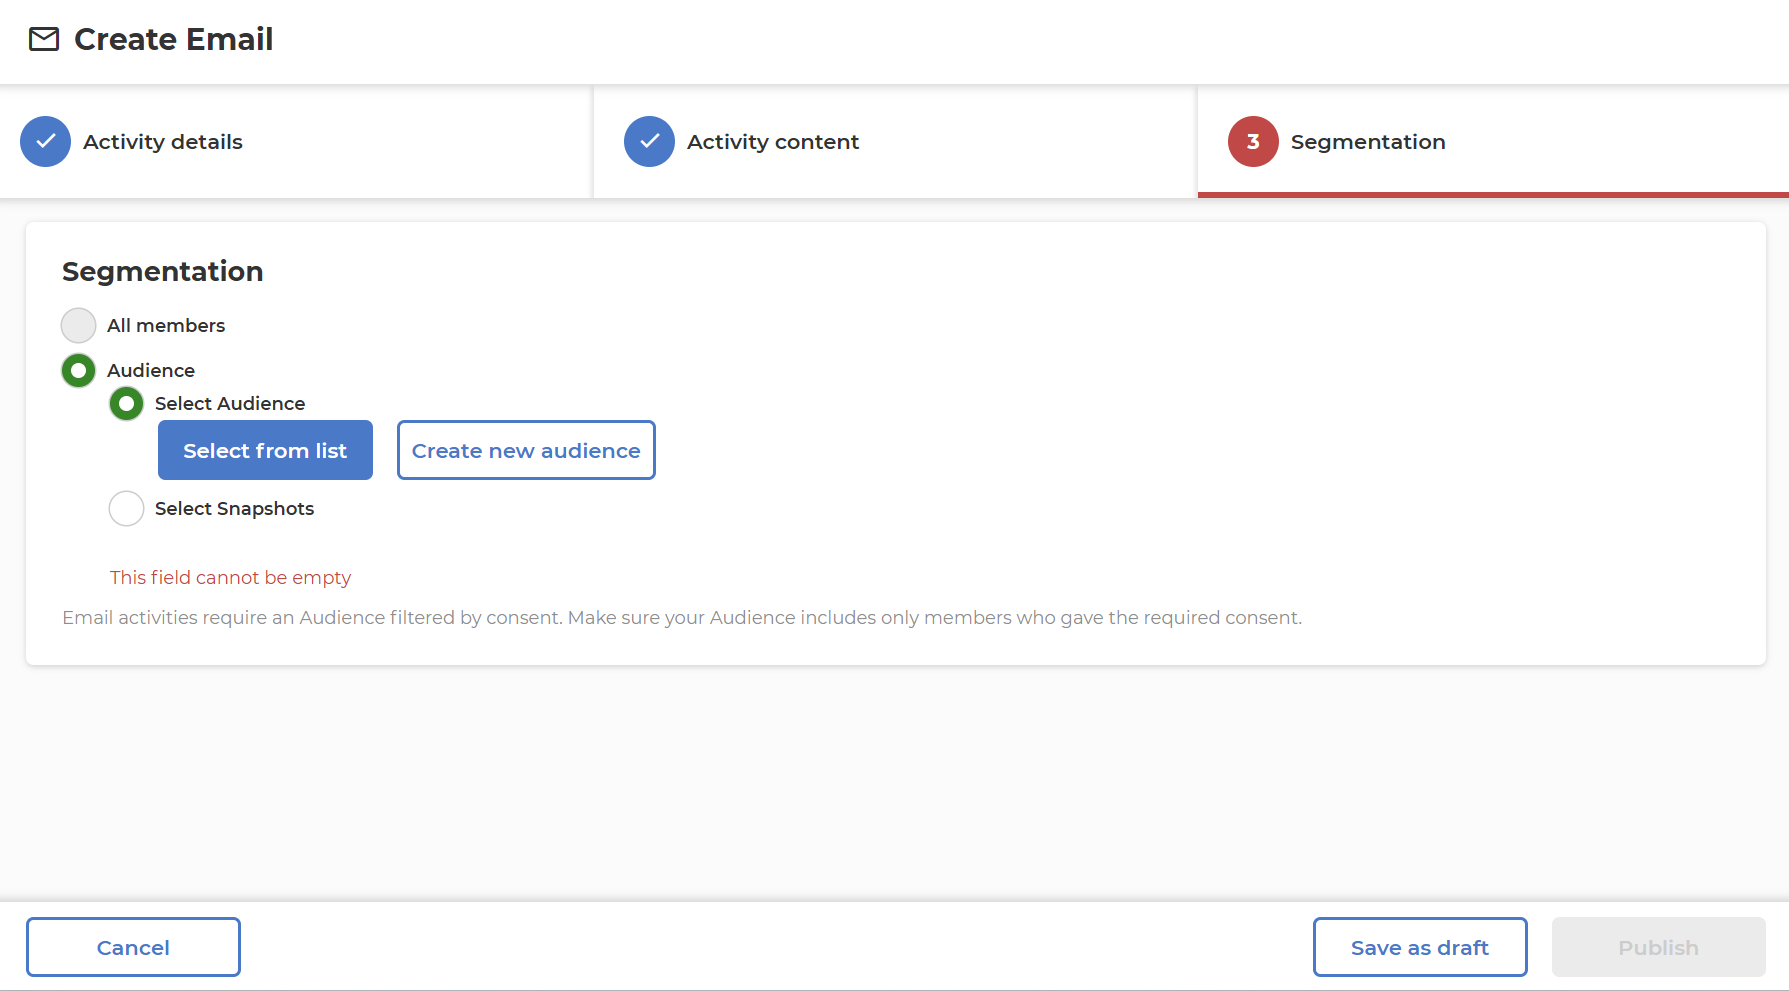
- Audience
- Send email to specific audience segments.
- When this option is chosen, additional settings appear to define the targeted audience.
-
Select Audience
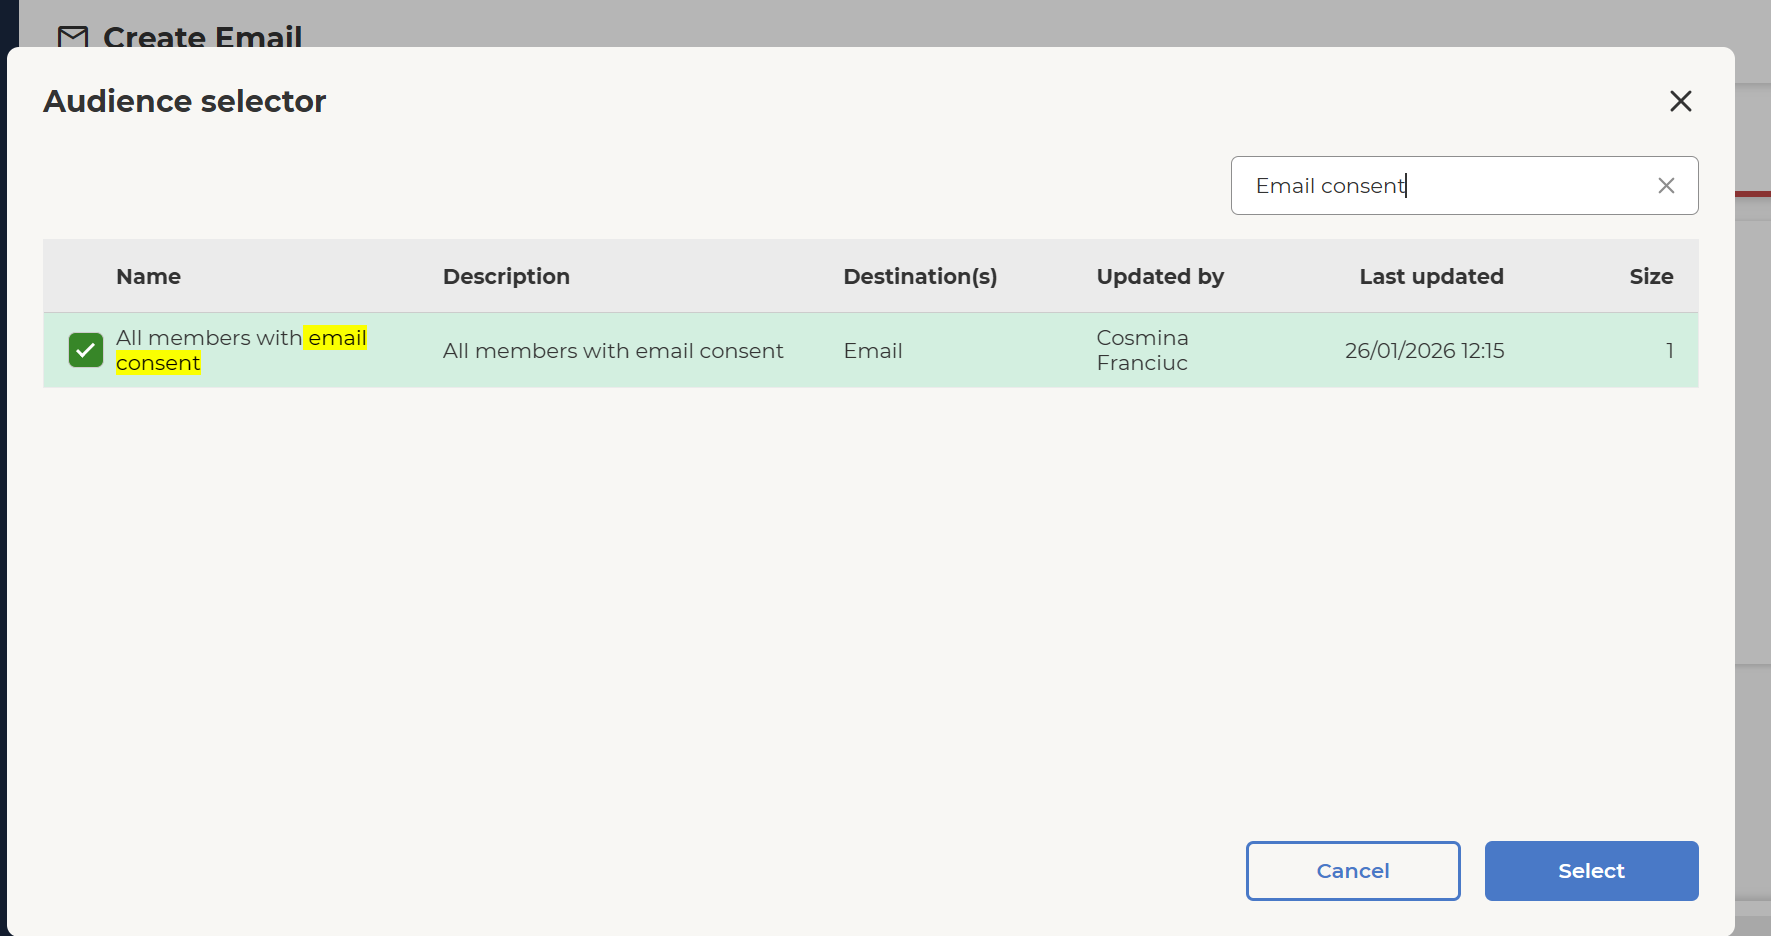
- Select from list of predefined segments brings up a pop-up where all predefined audiences are listed. Based on the name and description the needed Audience can be selected as a target for this email activity.
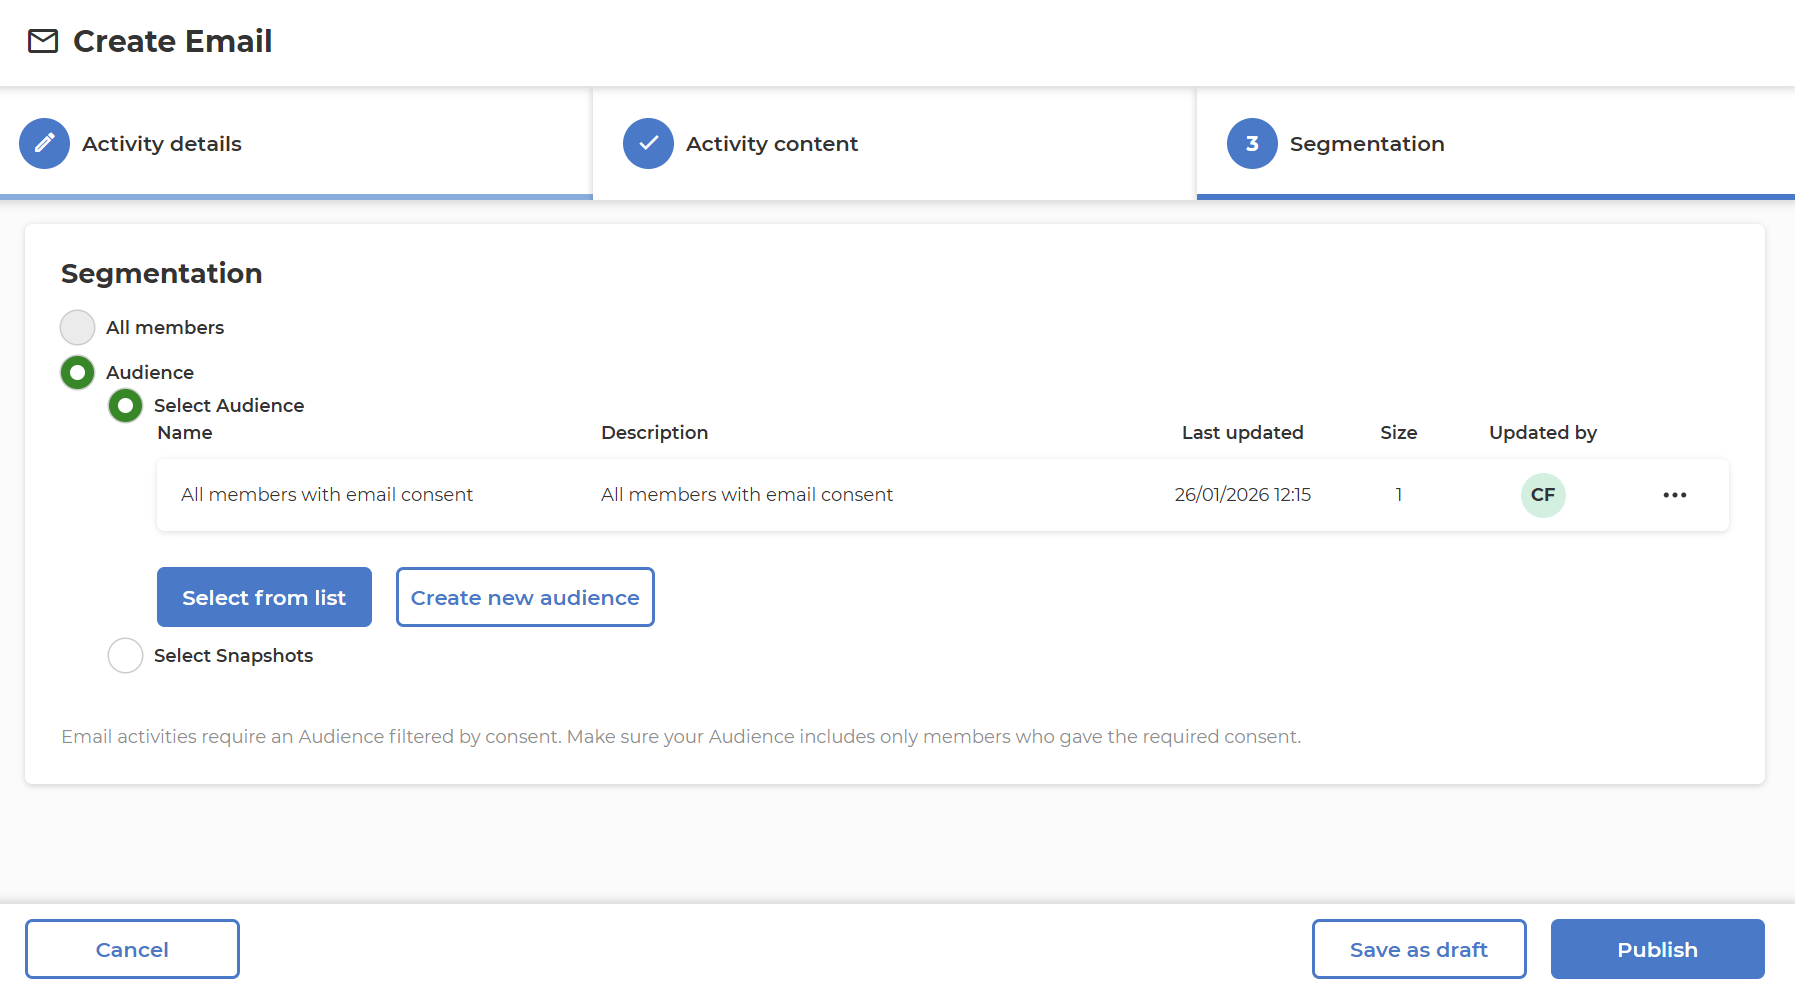
- Create new audience
- Create a new audience segment if the desired segment does not already exist.
- Select Snapshots
- Target specific snapshots of audience data.