Create and edit campaign
You create a campaign first and then define what it does by adding activities, targeting, and logic. You can build anything from a simple standalone promotion to a complex multi-activity journey with targeting and scheduling within the campaign structure.
Entry points
You can start a new campaign in three ways, all leading to the same campaign and setup options.
From list view or calendar view
- Open Campaigns.
- Make sure you are in list view or calendar view.
- Click New campaign.
From orchestration view
- Open Campaigns.
- Switch to orchestration view.
- Click Empty canvas.
Campaign details
The following fields are required to create a campaign:
-
Campaign name
Used to identify the campaign across all views. Unique names are not required. -
Permissions (if enabled)\ Controls who can view and edit the campaign.
The following fields are optional and can be filled in later:
- start date
- end date
- external reference ID (if enabled)
- description
You do not need to complete these fields to start working on the campaign.
💡 Good to know: It is good practice to set the start time to 00:01 and end time to 23:59 to avoid confusion and make tracking easier. Even though past dates are supported, we recommend not creating campaigns with start times in the past.
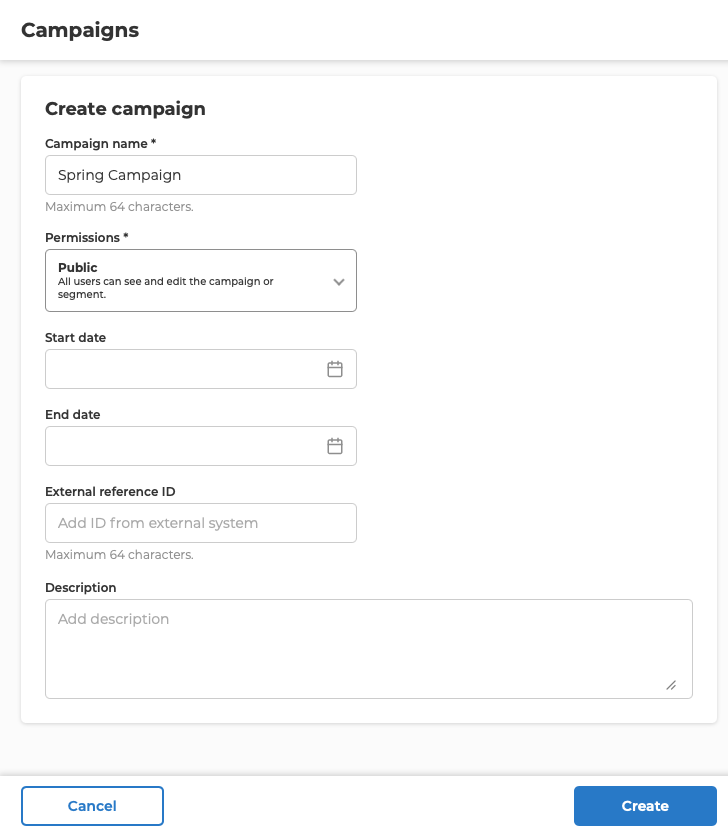
Click Create to save the campaign.
After creating the campaign
After the campaign is created, you can:
- add activities directly
- start orchestration to build targeting, scheduling, or triggers
- move freely between list, calendar, and orchestration views
Adding activities
How you add and work with activities depends on which view you are working in.
From list view or calendar view
After creating the campaign you land on the campaign page. If no activities have been added yet, the page shows an empty state with an Add activity button.
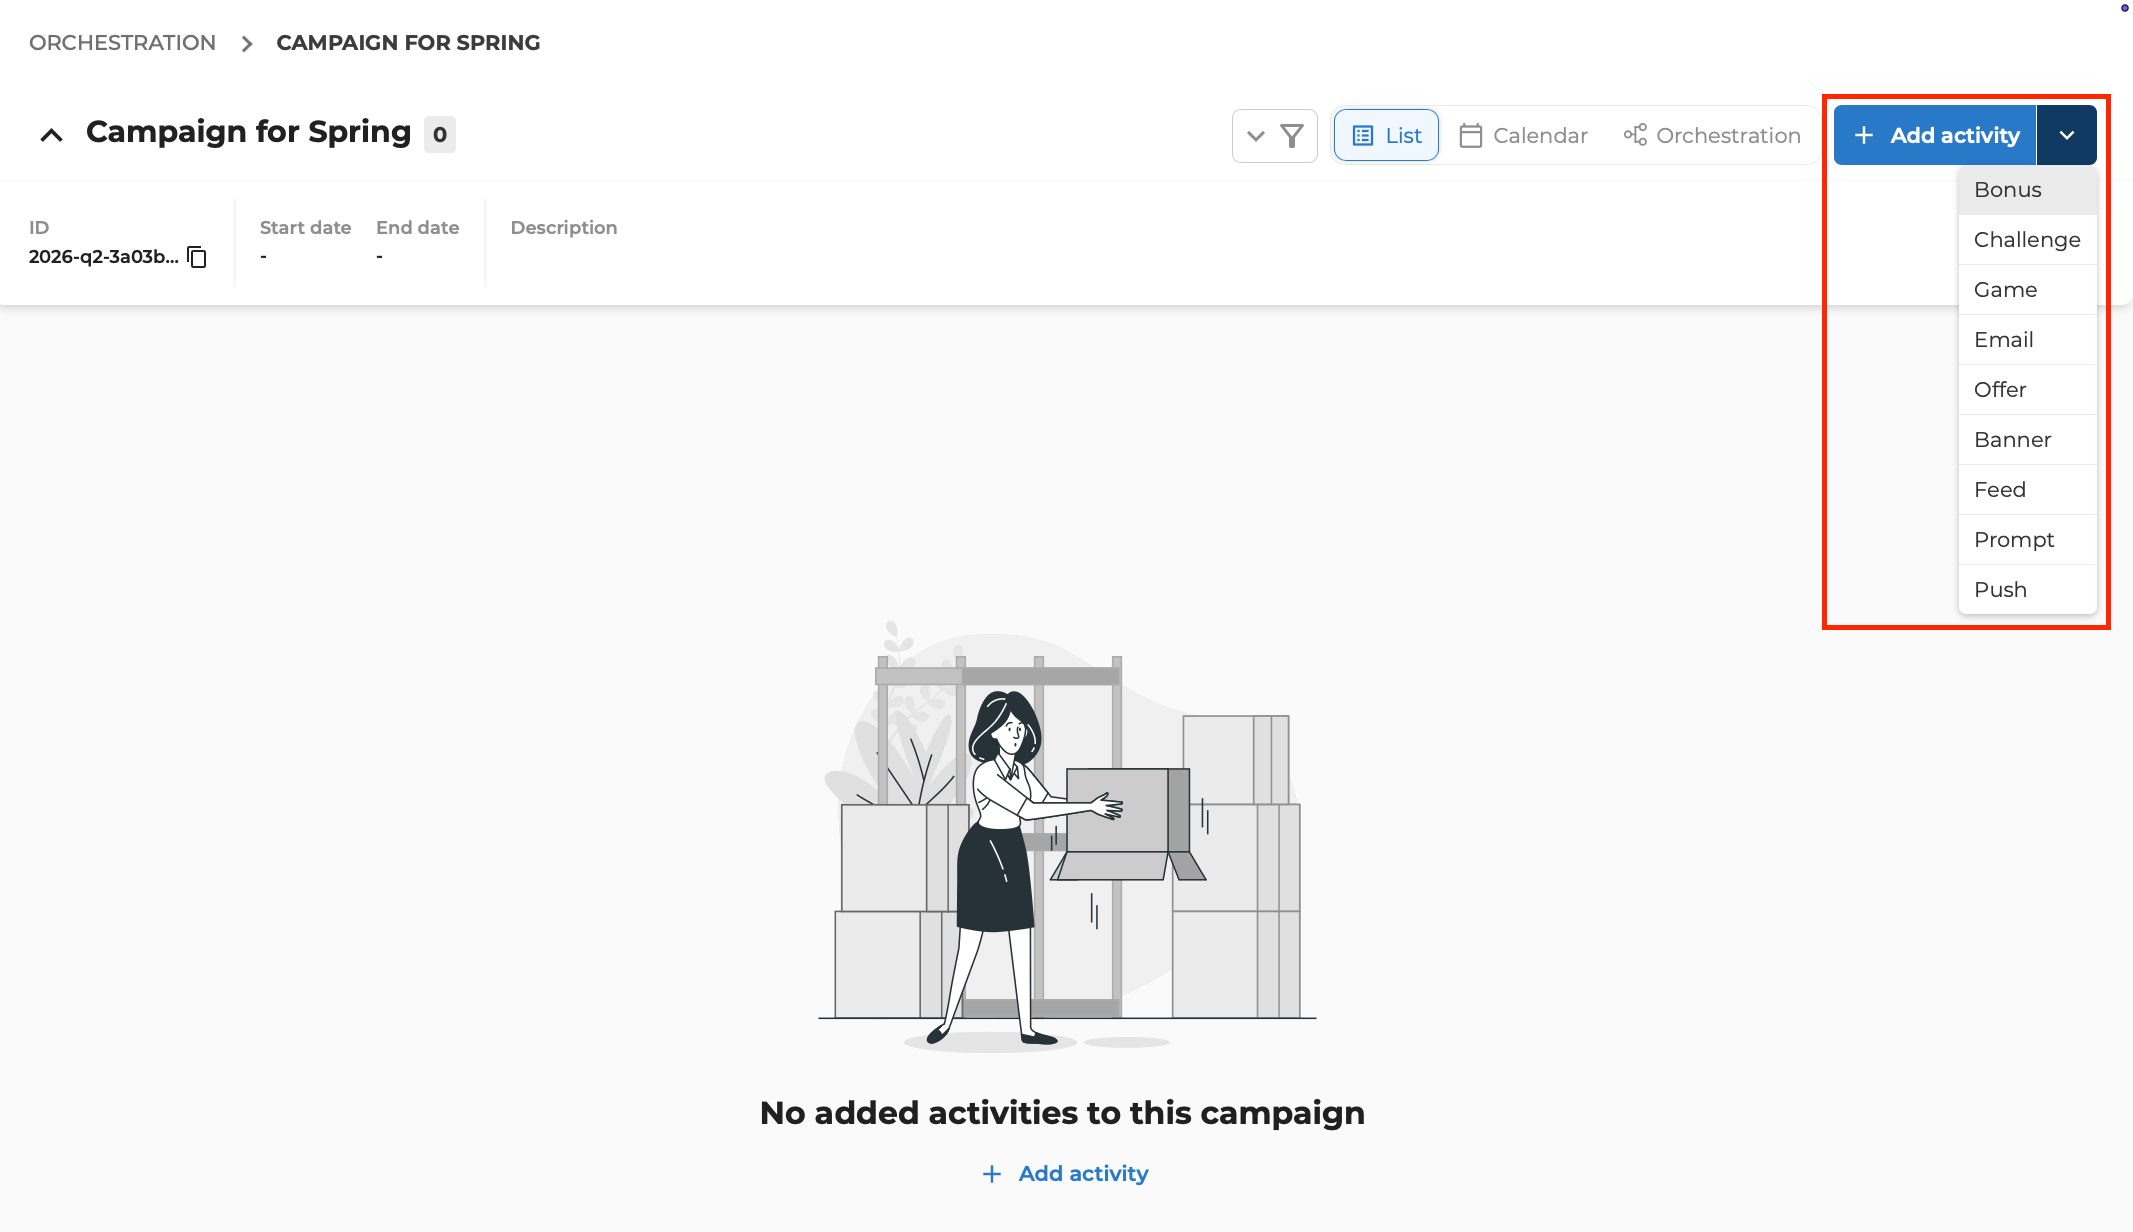
Click Add activity to open the activity picker. Here you can see all available activity types and select the one you want to create. For some activity types, you can choose to start from scratch or use an existing template as a starting point.
Use list view when activities should run independently during a fixed period without targeting, scheduling, or event-based logic.
From orchestration view
After creating the campaign from orchestration view, you land directly on the empty canvas. From here you can start building campaign logic straight away by dragging blocks from the block library onto the canvas and connecting them.
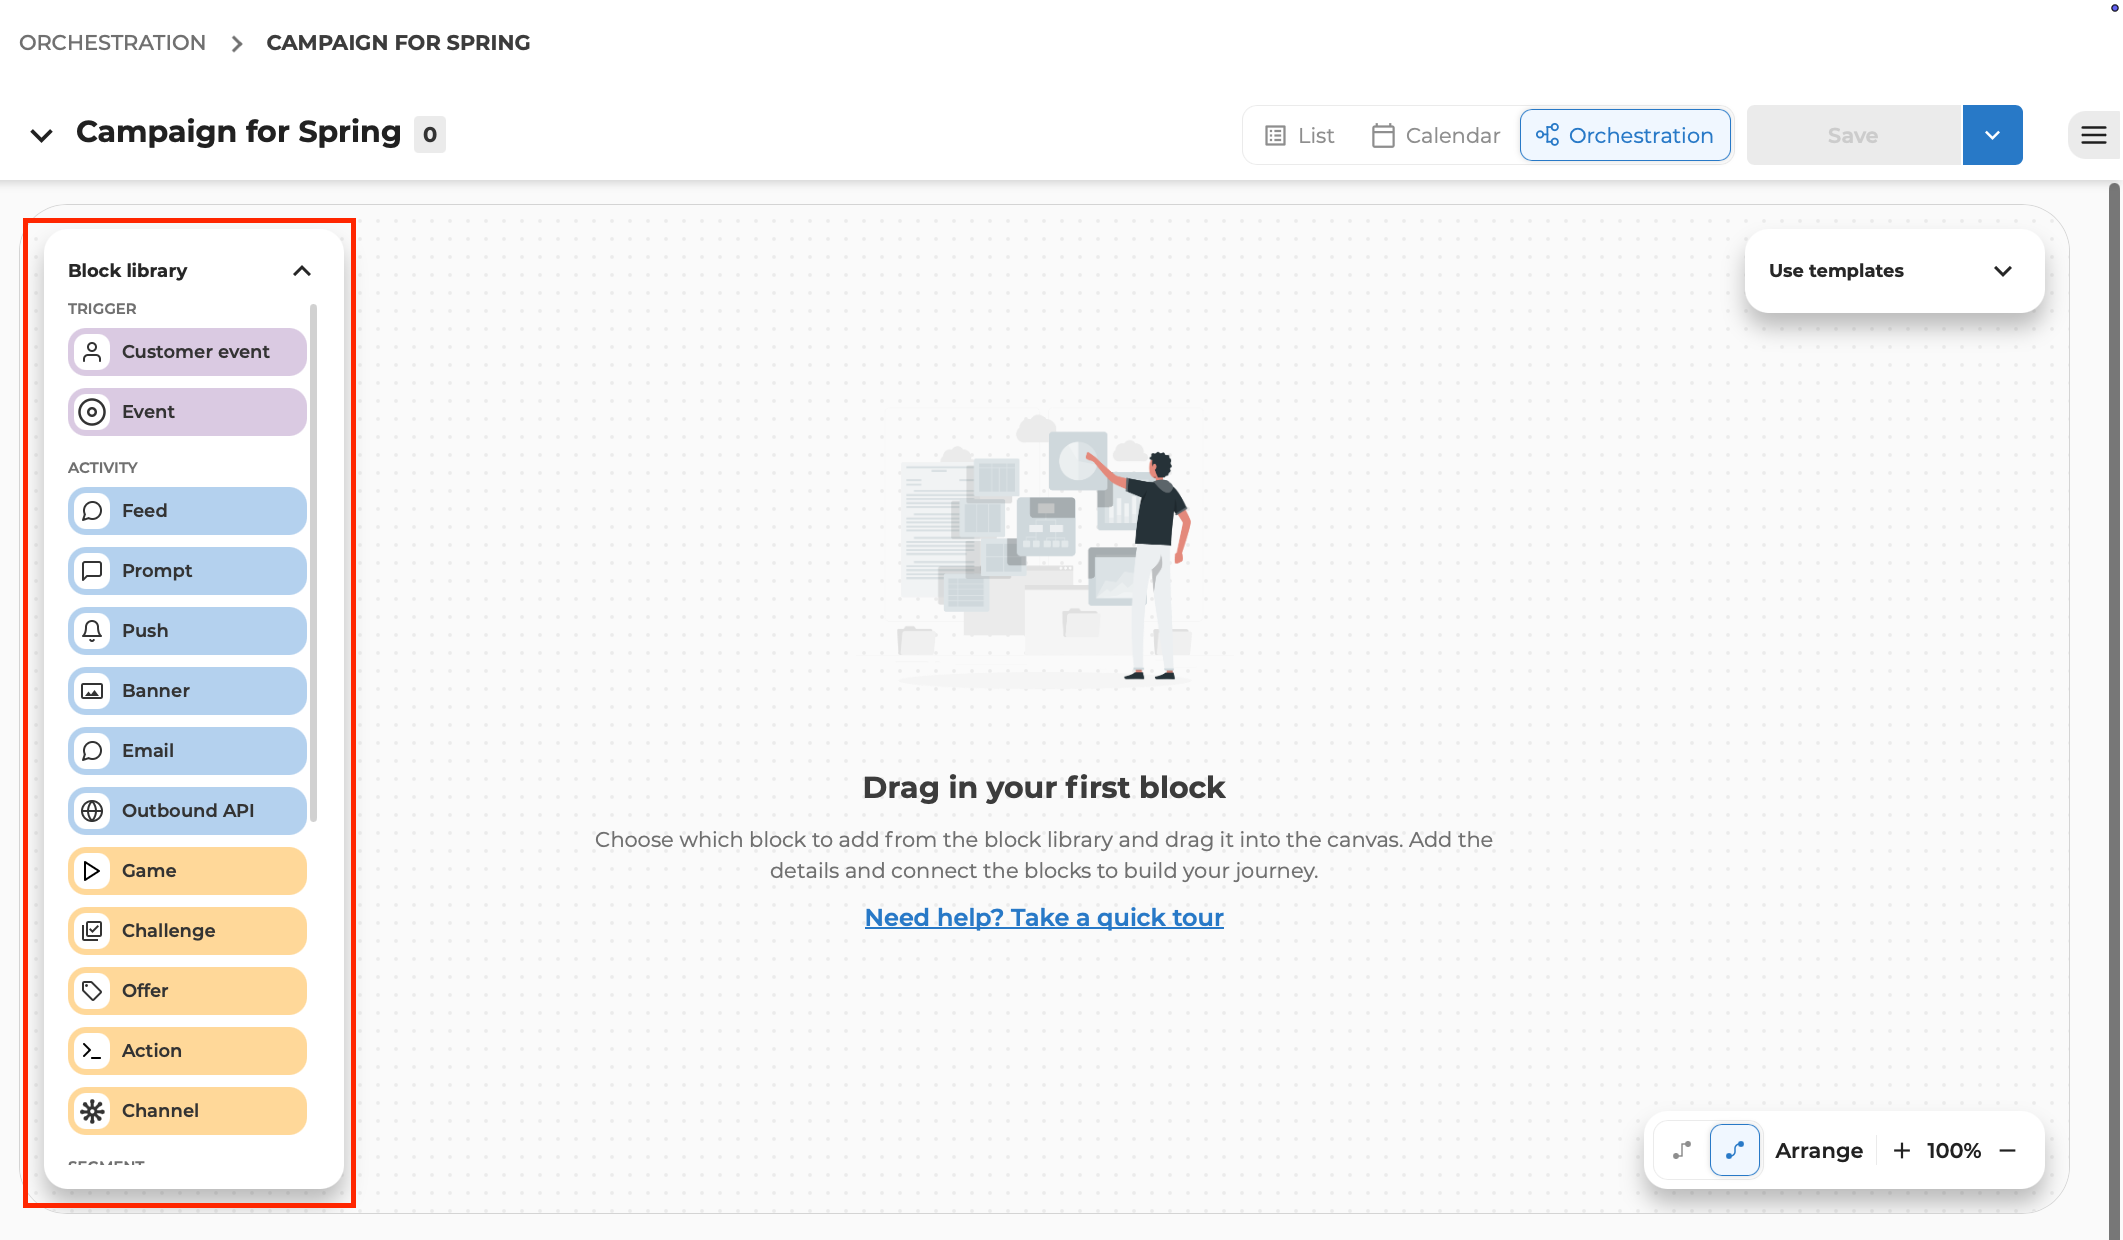
Use orchestration view when activities need to target specific member segments, run repeatedly, react to events, or depend on each other.
Switching between views
You can switch between list, calendar, and orchestration views at any time. Activities and changes are reflected across all views regardless of which view you used to create them.
Editing a campaign
To edit campaign details after creation, open the campaign and expand the campaign header by clicking the arrow next to the campaign name. Click Edit to open the edit mode.
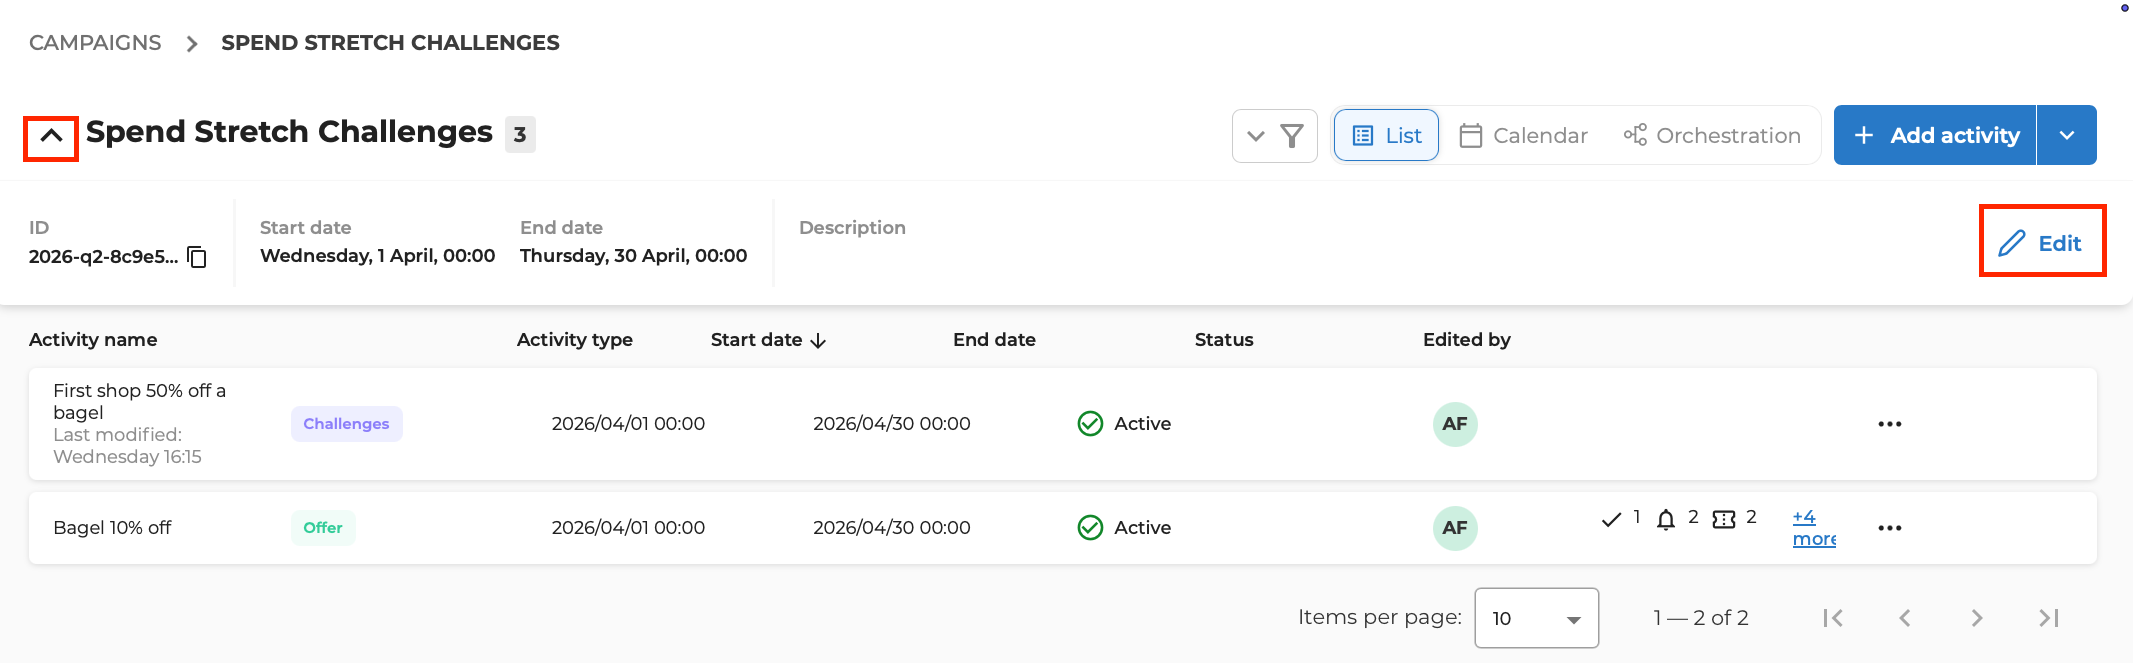
You can change the campaign name, start and end dates, external reference ID, and description. Start and end dates are constrained by your activities — the start date cannot be set later than the first activity start date, and the end date cannot be set earlier than the last activity end date.
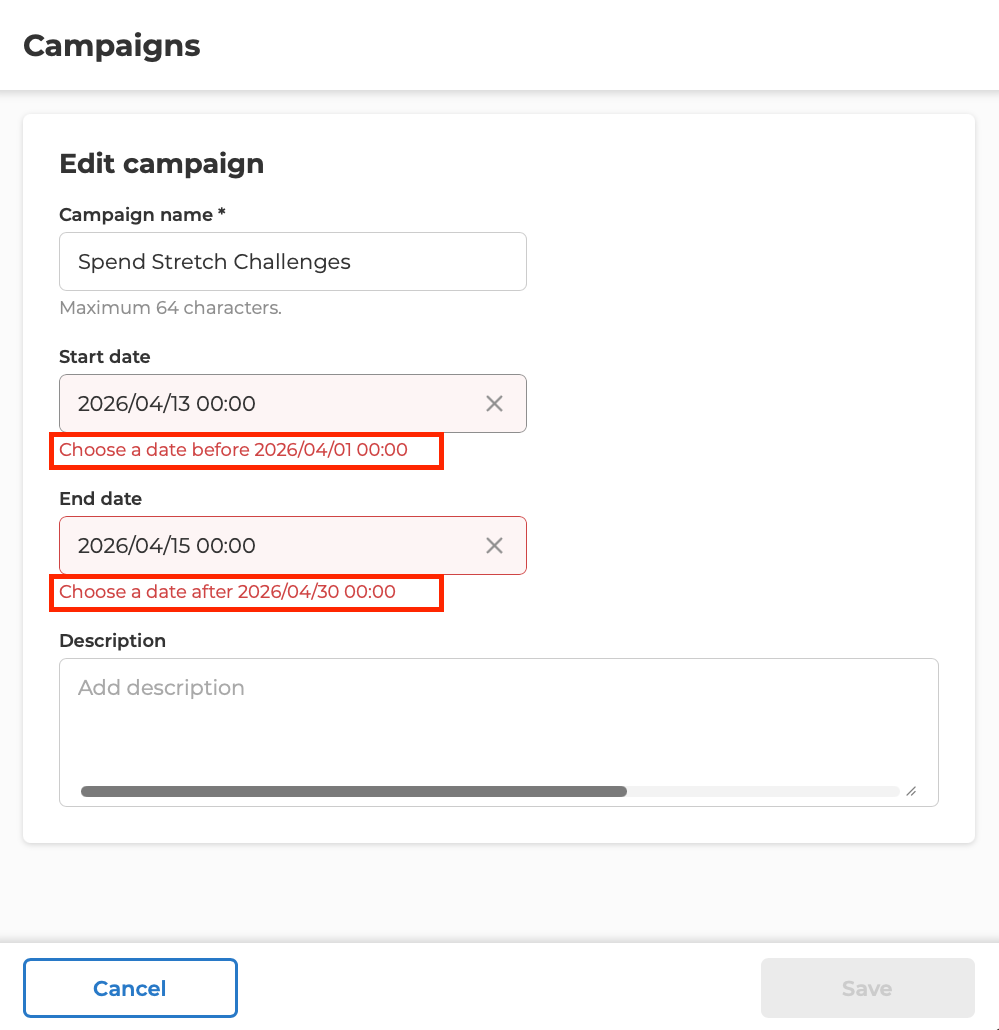
Click Save to apply changes or Cancel to discard.
Saving changes
Changes are not saved automatically. Remember to save after making updates.